Physical Address
304 North Cardinal St.
Dorchester Center, MA 02124
Physical Address
304 North Cardinal St.
Dorchester Center, MA 02124
After publishing a piece on how to connect an Internet enabled camera to WMC, iPhones and iPads yesterday, I received a couple of emails basically saying, “great, but I want to monitor more than one camera in a master view like stand alone IP surveillance software”.
I thought about this for a bit and then tested to see if an HTML page could be hosted locally, placed in the C:ProgramData\Microsoft\Windows\Start Menu\Programs\Accessories\Media Center\Media Center Programs folder with the appropriate MCL and PNG file. The answer was yes, and this now opens the door to more customizations.
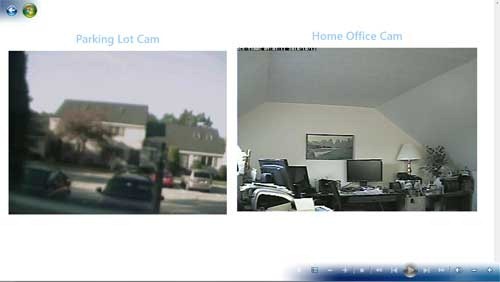
Further, I thought that the still images needed to be refreshed. Not much value in watching an image on the screen that just sits there. I fired up Microsoft Expression Web and created a page and added in a META REFRESH tag to reload every xx seconds (I used 30 seconds as the interval). While tables should not be used for layout on a page designed to be viewed in a real web browser (a deprecated means of coding), a nested table structure proved perfect for display inside Windows Media Center. I specified the Segoe UI font and ended up with something that looked pretty decent and worked. Here is the view inside Windows Media Center:

Here is the HTML code. You will need to replace the hostname, port, image path as I documented in the post linked above. The mycameras.html file I created contains the following:
| <head> <meta content=”en-us” http-equiv=”Content-Language”> <meta http-equiv=”refresh” content=”30″> <style type=”text/css”> <body style=”color: #99CCFF; “> <p class=”style3″> </p> </td> |
The MCL file (mycameras.mcl) is as follows:
| <application url=”mycameras.html” name=”My Cameras” bgcolor=”RGB(255,255,255)” startimage=”.mycameras.png” thumbnailImage=”.mycameras.png” sharedviewport=”false”> </application> |
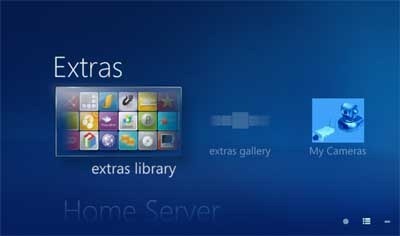
After removing the files I created and used yesterday, I placed the html file, the MCL file, and the new PNG file in the C:ProgramDataMicrosoftWindowsStart MenuProgramsAccessoriesMedia CenterMedia Center Programs folder. Next I launched Windows Media Center,and opened Extras.

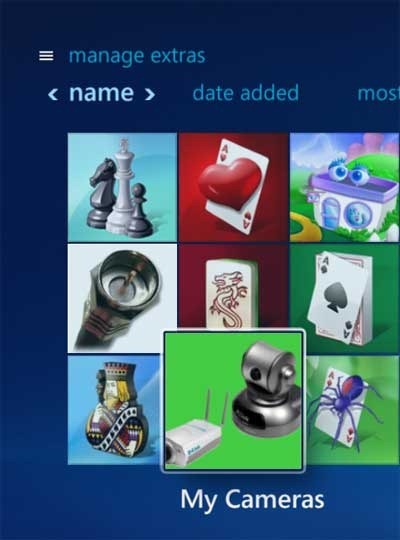
I finished by adding my new My Cameras extra as a top level Extras menu item.

Now, if I add more cameras, I can just edit the existing HTML. I’m sure I’ll have to change (reduce) the size of the displayed image to get more on a single page, but I now have a personal IP Camera viewport inside Windows Media Center. (And naturally, I’ve added the second camera to my iPhone and iPad Smartvue configuration).