Physical Address
304 North Cardinal St.
Dorchester Center, MA 02124
Physical Address
304 North Cardinal St.
Dorchester Center, MA 02124
If you delete an image from your library, the Live Tile does not immediately sync and select a new picture to replace it. This was an issue in the original Photos App in 8.0 and Microsoft did not fix this in 8.1. You have to wait 24 hours after the last tile refresh for new images to appear. You can use the info below to change the images displayed on the Photos App Live Tile any time you wish to make a change. You still cannot pick and choose what is displayed, unfortunately.
I have tested this on both a Desktop and Surface RT running Windows 8.1. Here are the steps to follow:
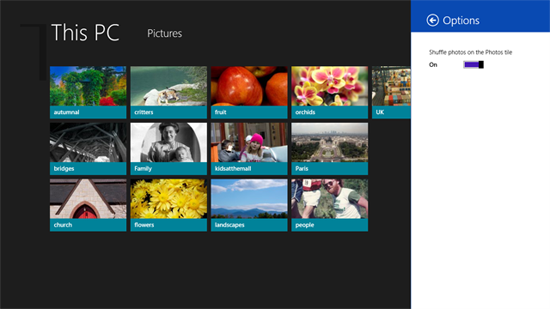
1. Open the Photos App, select Charms, Options
2. If the Shuffle option is on, turn it off

3. Close the Photos App
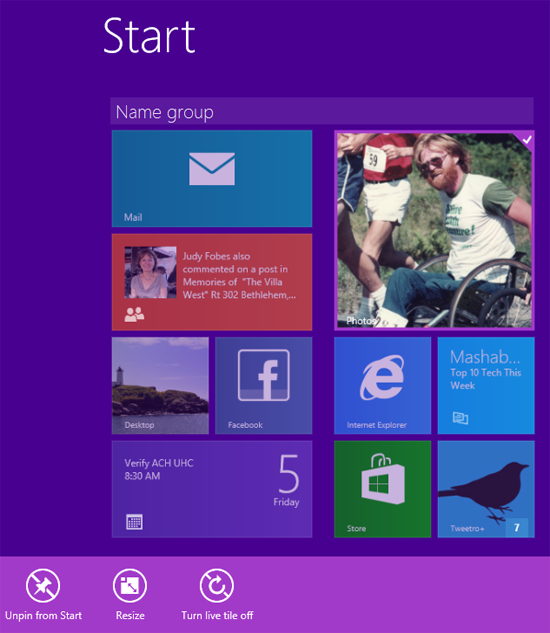
4. On the Start Screen, if the Live Tile is On, turn it OFF.

5. Close the Photos App and make sure it is not running. To do this, either open it and drag it down to the bottom of your screen about half way and hold it there until the icon flips around to show the Photos Tile Logo OR on the Start screen, type TASK MANAGER and open it and end task on Photos.
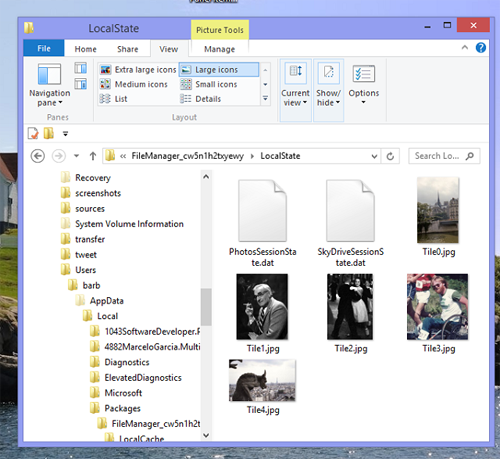
6. Go to the desktop and navigate to
C:\Users\your_user_name\AppData\Local\Packages\FileManager_cw5n1h2txyewy\LocalState
7. Delete all the Tile*.jpg files and any *.dat files – you may have two.

8. Open the Photos App and turn the Shuffle option back on
9. Turn the Photos App Live Tile back on
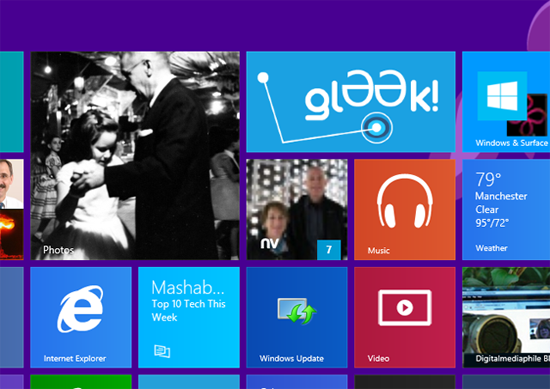
10. You should have a new set of images appear on the Live Tile within a few minutes.
As you can see if you compare the cached tiles above to the Live Tile on the Start Screen below, a new set of images will start to appear on the Tile.
