Physical Address
304 North Cardinal St.
Dorchester Center, MA 02124
Physical Address
304 North Cardinal St.
Dorchester Center, MA 02124
Many cable operators around the country are reclaiming analog space (separate from the over the air digital transition). If you have a cable set top box, nothing should change. If you connect coax out of the wall to an old analog set, you MAY need a Digital Terminal Adapter, DTA for short from your cable company. Most will make this available free of charge.
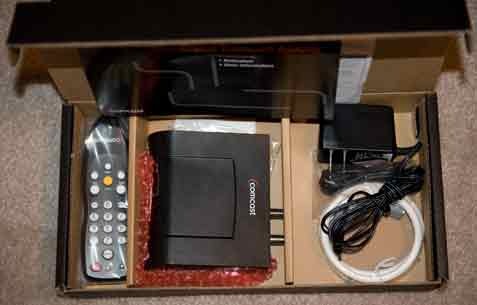
What you will need for optimum functionality and how to connect it:
1. Coax cable from wall to DTA RF IN
2. cable from DTA to existing Media Center tuner

3. Media Center Remote control
4. Either a built in eHome Receiver or external USB eHome receiver
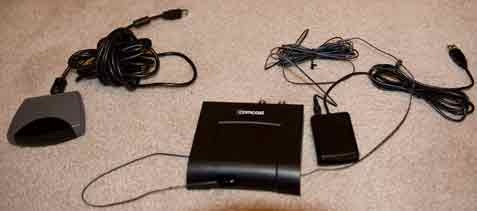
5. IR two way blaster cable. The DTA adapter comes with a remote and an IR extender. Do NOT use the IR extender to plug into your eHome MCE receiver.
6. Carefully position the sticky adhesive on the LED on the end of the blaster cable over the receiver eye on the front of the DTA. Plug the other end into the port for you eHome IR receiver or the port on your USB eHome receiver.
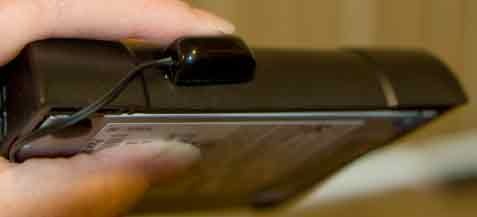
7. The DTA has a switch on the back to set it to Ch3 or Ch4, for purposes of TV Setup on MCE this setting should not matter.
Now you are ready to re-run TV Setup. Open Media Center, Navigate to Tasks/Settings and then run TV Setup again. This article was prepared using Windows 7, but the steps are nearly identical for older versions of Windows/MCE.
Following is a screen by screen walk through using a Comcast DTA:
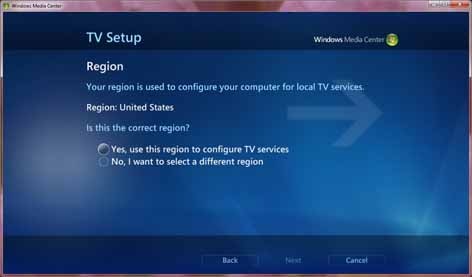
1. Since we are discussing DTA’s in thee USA, this is applicable to the United States only. Confirm the US region.
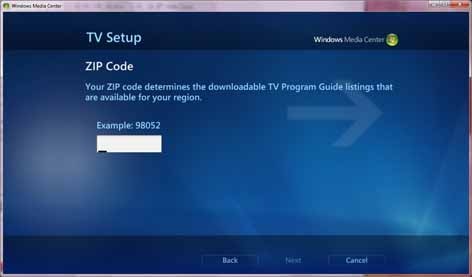
2. Specify your zip code
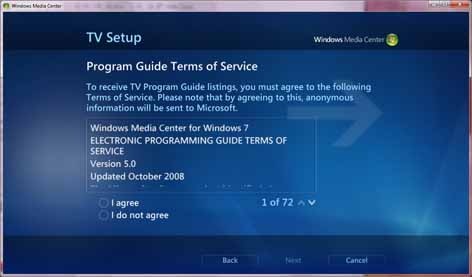
3. Agree to the terms of service
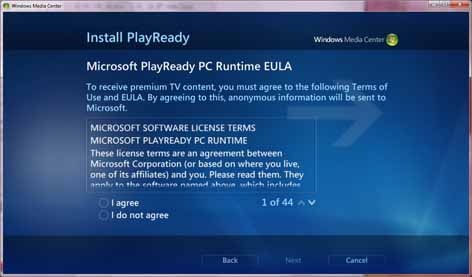
4. You’ll need to remain connected to the Internet throughout setup. Agree to the PlayReady EULA.
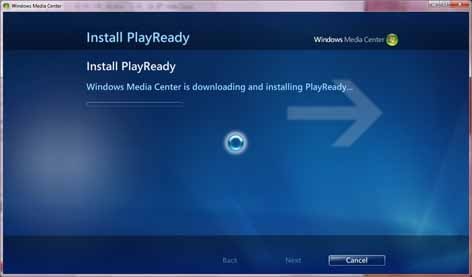
5. Play ready will download and install from Windows Update. This may take a few minutes, so be patient.
6. TV setup data will download
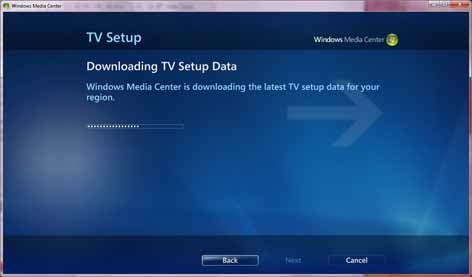
7. Windows Media Center will examine your TV signal
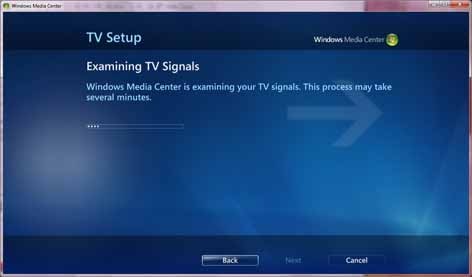
8. Windows Media Center should detect your DTA and classify it as a set top box
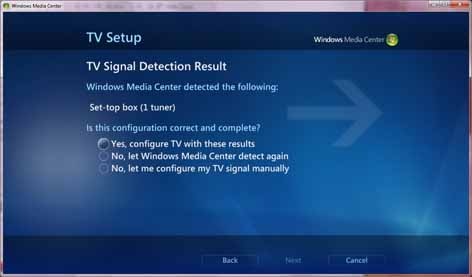
9. Select Cable
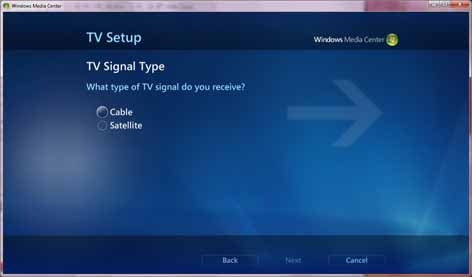
10. Attempt automatic configuration. If this fails, you will need to re-run and select manual setup.
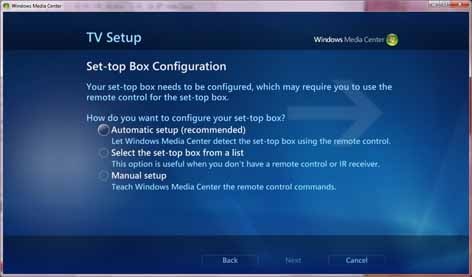
11. Currently, the Windows Media Center remote database does not contain the code set for DTAs. Use WMC’s identify functionality to proceed. Use the remote supplied with your DTA. You may need to press one or more keys (and possibly all of them, but fortunately, there are not a large number of keys on this remote). Select Next to start this process.
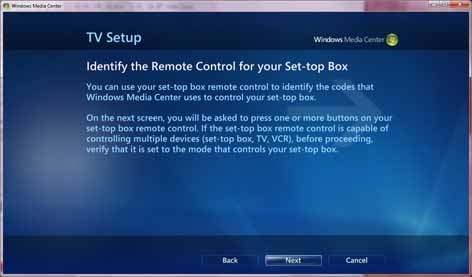
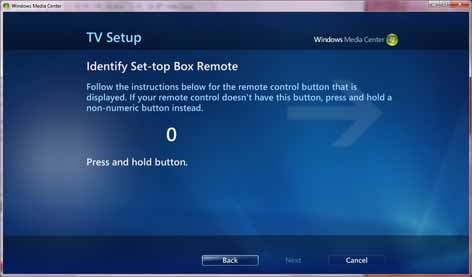
12. Press and hold the 0 key. You may be prompted to do this more than once and prompted to select different keys on your DTA remote. Follow the instructions until completed.
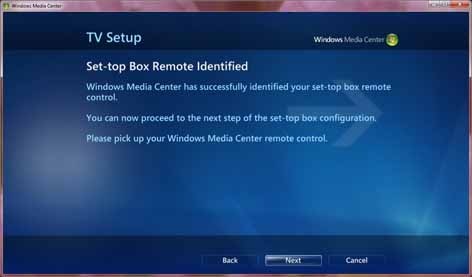
13. A message will display when the remote has been identified and the codes established. Use your Media Center remote to complete TV setup.
14. Select two digits
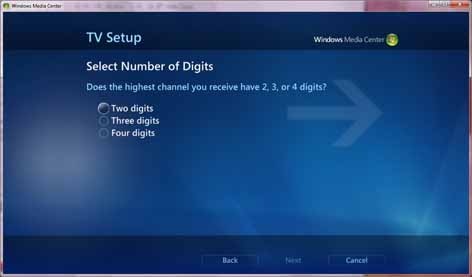
15. Select enter the channel number and wait
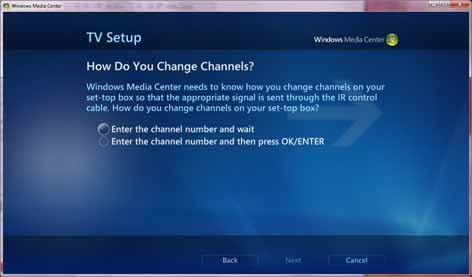
16. Test channel changing by entering a one or two digit channel number that you know you can receive.
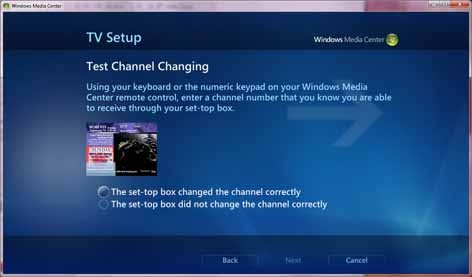
17. Use channel up and channel down to test and establish the speed at which commands need to be sent to successfully change channels
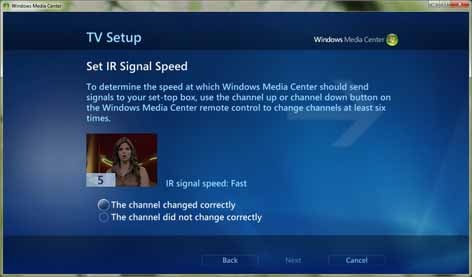
18. In my early testing, I found that Slow was the proper setting.
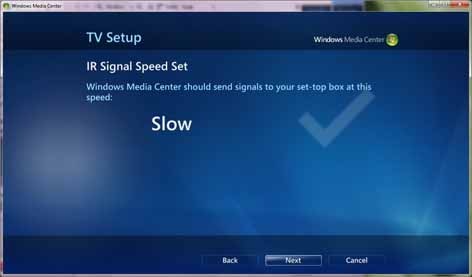
19. A confirmation will display
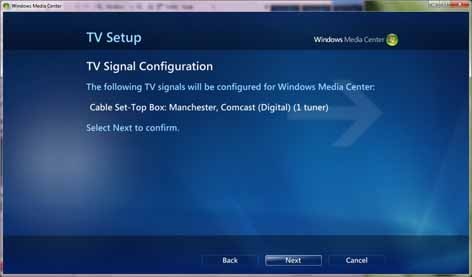
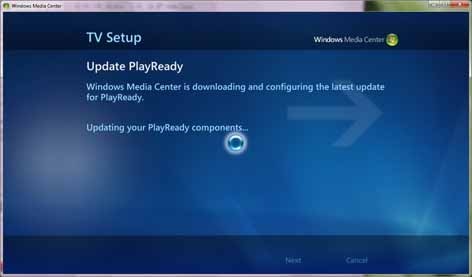
19. On Windows 7 (still in beta so this may changed) I needed to update PlayReady
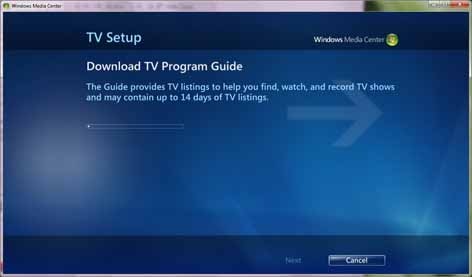
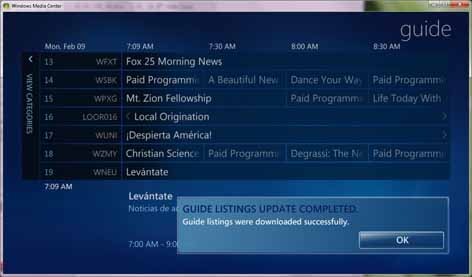
20. The Program Guide will download (may take a few minutes).
21. Confirmation displays
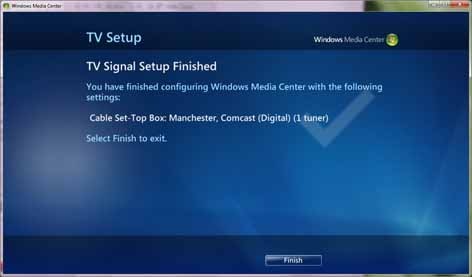
22. Guide Listing finished updating, time to enjoy TV again.
This article will be updated as needed.
Clubhouse Tags: clubhouse, media center, windows media center, how-to, Tip