Physical Address
304 North Cardinal St.
Dorchester Center, MA 02124
Physical Address
304 North Cardinal St.
Dorchester Center, MA 02124
Motivated by the upcoming yearly Halloween onslaught of youngsters and the not so young about to come through my condo complex, I started thinking about how to integrate an Internet capable surveillance camera with my connected home and devices. I’m not a “real” developer, but I’m a pretty smart geek (IMO) and I started looking around for ideas that I could borrow and customize.
My goals were to be able to check activity in my parking lot/walkway on demand from Windows Media Center, my iPhone, and my iPad. The web is a wonderful wealth of information, and putting this together was not really difficult. And definitely worth sharing with others.
Back in 2002, I wrote about adding an Internet Camera to my home network. Obviously, 802.11b with WEP doesn’t interest me any more, but since the device has a 10/100 Ethernet port, connecting to a MoCA network or using an 802.11n wireless bridge makes the device usable with more modern networking technologies. The device can display a live view with either an ActiveX control or Java (neither of which is usable on an iPxxx device or Media Center friendly. The trick was to find a way using only a web URL to display real time images. Most IP Camera vendors don’t document this.
Then I found the Smartvue web site, which not only listed the URL format for images for a huge variety of IP cameras, but pointed the way to free iPhone and iPad apps. The iCam support site also has a neat interactive test page to determine the proper URL to use and includes some options not listed at Smartvue.
I tested the image path samples on the Smartvue site and found the correct one for my DCS1000W by testing with Internet Explorer using the internal IP, my FQD URL (dynamic DNS) and on my iPhone and iPad.
First up was adding what was needed to view inside the Media Center interface. I found the info to create an MCL file and accompanying tile for Windows Media Center on The Digital Lifestyle and got started tweaking. Here is a sample MCL file to use as a guide:
| <application url="http://hostname.dyndnsprovider.domain:Port XXXX/imagepath.ext" name="Camera" bgcolor="RGB(255,255,255)" startimage=".camera.png" thumbnailImage=".camera.png" sharedviewport="false"> </application> |
Since I need to view on both laptops away from home and desktops at home, I used the fully qualified dynamic dns name from my dynamic DNS provider, the port number, and the image path as shown above. (And my home router has the corresponding port forwarding set up. My router supports loopback (and supports dynamic DNS providers), so this guarantees a sweet experience.
Below you can see the MCL file and the PNG image I created (in Photoshop, but Windows Paint will work) and where these were placed so that they would be available to all users. As stated on The Digital Lifestyle information, I had to create the last two folders.
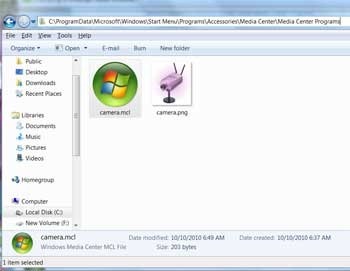
I opened Media Center, and the new Camera tile was displayed as expected. When I opened it, I received a standard Windows login credentials prompt because my IP Camera is protected with a username and password. But since I had already opened the site in IE and selected “remember password”, I could select OK either with the mouse or the remote. Next, the expected warning about compatibility with the Media Center interface and selected to not warn me and view anyway (a one time task).
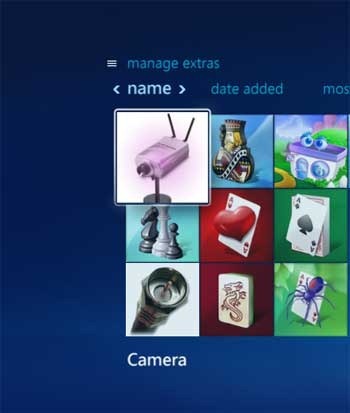
I also added the Tile to the top level menu (right click or i on the remote)

And here’s the view inside Media Center of my IP Camera (we had a frost last night so there is some condensation).
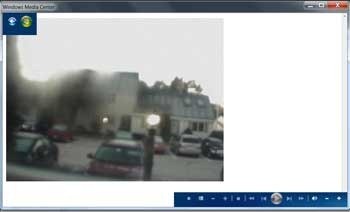
Integration with my iPxx devices was next. Smartvue provides FREE apps for both the iPhone and iPad in the Apple App Store and they are both pretty neat. (And they have apps for Blackberrys, Android’s and more !) They also support a way to view password protected cameras like mine (documented on the bottom of the third party camera page AND in the apps themselves).
On the iPad, with the larger display, there is a list of cameras on the left and the view from the selected camera is on the right, (Out of the box, both the iPad and iPhone apps have some default cameras configured, but you can delete/edit, etc.)
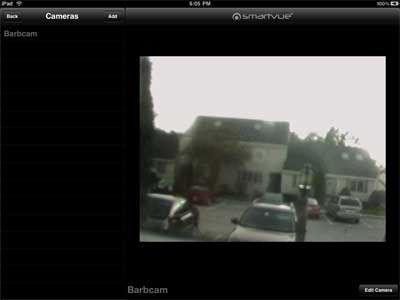
And on my iPhone, here’s the default list, with my own camera at the bottom:

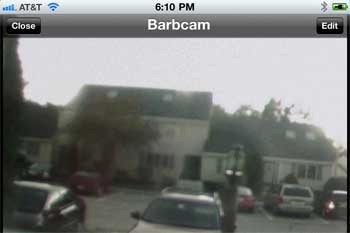
And the view from my iPhone:
And, the camera itself can send email and a screen shot when motion is detected, so no matter where I am, I’m going to know who’s pulled into my other parking space or is walking to my front door!